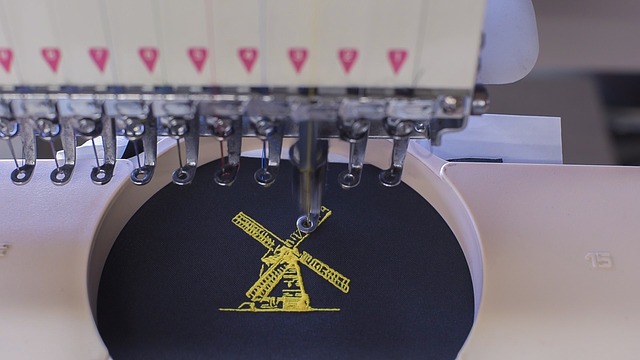
Digitizing is a simple word used for embroidery on daily basis. A process that needs to be converted from an image to a file format that can be used by the embroidery machine is called Digitizing. In simple words, converting an image to a digital file.
Digitizing is a simple process that needs to be followed properly to get the best results. Like every process Digitizing is a simple process but has technical steps which need to be followed at the right time to avoid delays in the order or running the quality of the files.
We have identified 4 important techniques where customers and companies lack, and hence cannot provide the desired results as per the requirement.
Technique 1, Dimensions
While choosing the image for your embroidery make sure you have the right dimensions in which the image needs to be digitized. The artwork after digitization cannot be changed sometimes and hence can cause the image to be not exactly the same as the one requested. This can also be avoided by using the best quality picture. Make sure to provide the right dimensions or the standard sizes which come in standard patch size ( capsize, chest size, back size).
Technique 2, Digital Format
When sending your designs to any company make sure to instruct with the right dimensions but also with the required format. As some machines use different formats or some images can be for vector art, which is a different format to a normal embroidery file. This will again cause issues with delays in timeframe and editing charges.
Technique 3, Final Embroidery Artwork
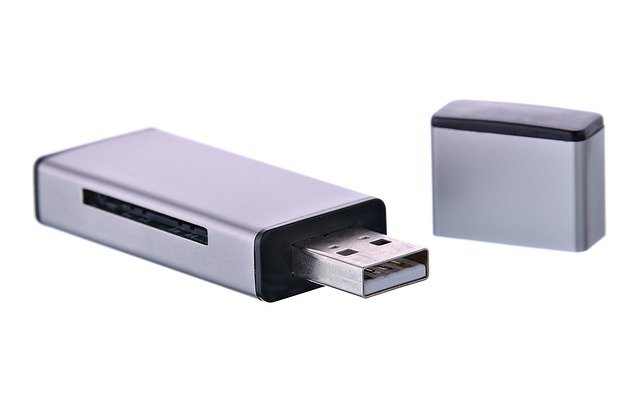
Once you have received the files from the company make sure to first check the PDF of the design which will help you to understand the design fully and how it will be embroidered. PDF will also show the colors and the total number of stitches for the design and will help you to understand the design better before transferring the files into USB to use at the final step.